Join us October 28-29 in San Francisco or online for GitHub Universe, our flagship developer event uniting people, agents, and the world's code.
Register now
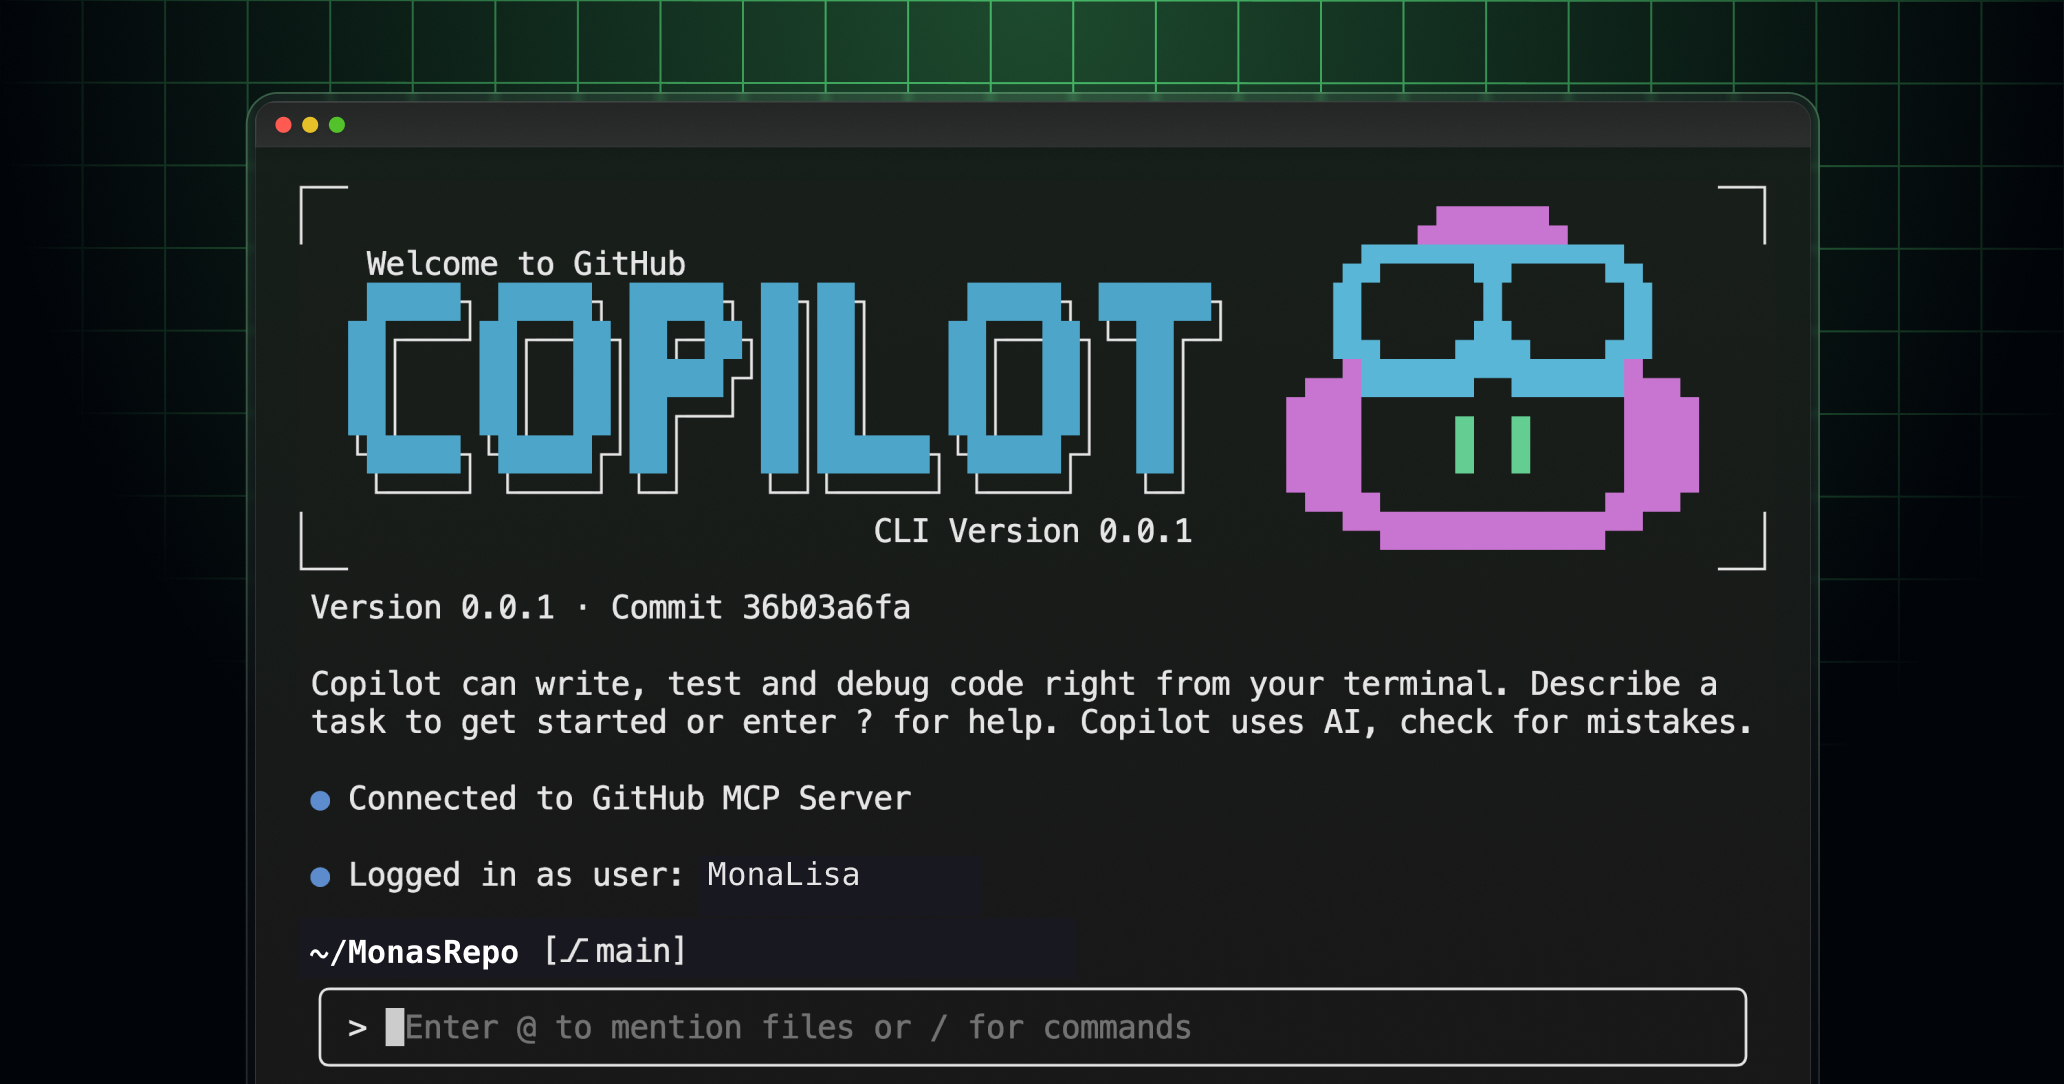
GitHub Copilot CLI 101: How to use GitHub Copilot from the command line
Curious about using GitHub Copilot in your terminal? Here’s our guide to GitHub Copilot CLI, including a starter kit with the best prompts for a wide range of use cases.
You don’t have to leave your terminal to use GitHub Copilot anymore.
With GitHub Copilot CLI, you can ask questions, generate scripts, refactor code, and run commands—all without breaking your flow.
In this blog, we’ll explore exactly what GitHub Copilot CLI is, how it works, the best ways to use it, and how you can start working with Copilot right from your terminal.
What is GitHub Copilot CLI?
A command-line interface (CLI) is where you can type commands directly into a terminal or console to interact with software and systems. It’s how you often run scripts, automate workflows, and access APIs.
The GitHub Copilot CLI brings Copilot’s AI capabilities right into that environment. Instead of jumping between your IDE and browser, you can ask Copilot to generate, explain, or execute commands. In short, Copilot CLI gives you more precision and control over how you work.
For instance, you can ask:
copilot "create a bash script to check for uncommitted changes and push if clean"
copilot "create a bash script to check for uncommitted changes and push if clean"
The Copilot CLI will write the script, explain what it does, and ask you to confirm before running it.
Whether you’re debugging code, managing environments, navigating a legacy codebase, or handling complex implementations, Copilot CLI helps you work faster without leaving your local environment—saving you time and effort.
GitHub Copilot CLI comes with the GitHub MCP server already configured, which means you can easily connect to custom MCP servers and add custom capabilities to your unique development environment.
Doing this allows you to:
Integrate domain-specific tools and workflows directly into your CLI experience for faster, more relevant results.
Add contextual data from your environment to improve code suggestions and command execution.
Customize automation and commands to fit your team’s unique development practices.
How does GitHub Copilot CLI work?
CLIs follow a simple loop: you type a command, the system runs it, and you get a result.
Interactive mode (the default mode) lets you start a session with the copilot command and have a back-and-forth conversation, refining tasks as you go.
Programmatic mode is for one-off prompts: pass a request directly with -p or –prompt, and Copilot responds inline. For tasks that involve modifying or executing files, you can enable approval options to keep things safe and consistent.
No matter how you use it, Copilot CLI will always ask for confirmation before reading, modifying, or executing files. That means you stay in control of your environment. (Note: One exception is if you choose “Yes, and remember this folder for future sessions” or **“**Yes, and approve TOOL for the rest of the session” when prompted—Copilot will follow these instructions instead. More details in our starter kit below!)
If you already love working directly in your terminal and want an agentic boost, Copilot CLI is built for you.
Using Copilot from the command line lets you:
Automate repetitive tasks like searching docs or writing boilerplate commands.
Learn new tools by asking Copilot to explain what a command does or get information on the systems and shells running in your environment.
Stay focused by avoiding context switching between your IDE, browser, and the command line.
Putting Copilot directly into your terminal means you can take advantage of agentic AI from where you’re already at with no task switching required.
Starter kit: How to install and use GitHub Copilot CLI
Using GitHub Copilot CLI is easier than you think. We created a starter kit for you that explains how to install GitHub Copilot CLI, a step-by-step tutorial on how to use the tool, and common use cases and prompts you can use with Copilot in your terminal. Let’s dive in.
Step one: Installing GitHub Copilot CLI
To get started with GitHub Copilot CLI, you need:
A GitHub Copilot subscription: Copilot CLI is currently available with the GitHub Copilot Pro, GitHub Copilot Pro+, GitHub Copilot Business, and GitHub Copilot Enterprise plans.
Node.js version 22 or later
npm version 10 or later
[Note: If you get Copilot access from an organization, the Copilot CLI policy must be enabled in your organization’s settings.]
It’s time to start using Copilot in the command line (we have step-by-step instructions on how to do this in our docs).
In your terminal, choose the folder with the code you’re working on.
Type copilot into the chat box to begin using Copilot CLI. You’ll be prompted to confirm that you trust the contents of the folder.
Important: During your GitHub Copilot CLI session, Copilot may read, modify, and execute files in and below this folder. Only proceed if you trust the files in this location. Read About GitHub Copilot CLI to learn more about trusted directories.
You can select one of these options:
Yes, proceed: Copilot can access and use the files in this location for only this session.
Yes, and remember this folder for future sessions: The files in this folder are trusted for current and future sessions. When starting Copilot CLI from this folder, you won’t be asked this question again (so only select this option if you are sure that it will always be safe for Copilot to work with these files).
No, exit (Esc): End your Copilot CLI session.
If you are not currently logged in to GitHub, you’ll be prompted to use the /login slash command. Enter this command and follow the on-screen instructions to authenticate.
Enter your prompt in the CLI (we’ll explore some examples of great prompts in the next section!)
Sometimes you’ll need to approve Copilot’s use of tools that modify or execute files. You’ll have three options:
Yes: Allow Copilot to use this tool once (and approve it again the next time Copilot needs to use the same tool).
Yes, and approve TOOL for the rest of the session: Give Copilot full permission to use this tool for the rest of the current session (you’ll need to approve the command again for any future sessions.) This is helpful for when you don’t want to approve commands repeatedly in the same session–but be aware of the security implications. For instance, choosing this option for the command rm would let Copilot to delete any file in or below the current folder without needing your approval.
No, and tell Copilot what to do differently: Instead of running the command, Copilot will end the current operation and wait for you to prompt it. You can instruct Copilot to continue the task but suggest a different approach.
Step three: GitHub Copilot CLI use cases, plus example prompts and workflows
In this section, we’re providing tons of use cases along with sample prompts that you can feed Copilot to achieve similar outcomes.
GitHub Learn: GitHub Copilot CLI
In this video tutorial, @arilivigni, senior learning advocate and cloud solutions architect at GitHub, demonstrates some foundational ways to use GitHub Copilot CLI to create GitHub issues, pull requests, and more.
Here are some of the GitHub Copilot CLI prompts that were highlighted in the video:
Create a GitHub Issue: Log actionable tasks that keep progress visible.
Create an issue foradding GitHub Copilot instructions
Create an issue for adding GitHub Copilot instructions
CreateCopilot custom instructions: Give Copilot more context on your project so it can deliver even better AI assistance that fits your workflows.
Create a branch for GitHub Copilot custom instructions
Create a branch for GitHub Copilot custom instructions
Create a pull request: Propose changes that enhance code quality.
Create a pull request with the changes we have made
Create a pull request with the changes we have made
Attach this pull request to issue #4
Attach this pull request to issue #4
Show the content of issue #4
Show the content of issue #4
What pull requests are attached to this issue?
What pull requests are attached to this issue?
Use the MCP server to list all open issues and pull requests
Use the MCP server to list all open issues and pull requests
Use MCP servers to query Microsoft Learn: Access official Microsoft Learn content directly from the CLI for quick answers and guidance.
Using the Microsoft Learn MCP server, tell me all the GitHub Copilot Microsoft Learn modules that exist
Using the Microsoft Learn MCP server, tell me all the GitHub Copilot Microsoft Learn modules that exist
What are the names of the hands-on Skills exercises that exist ineachmodule?
What are the names of the hands-on Skills exercises that exist in each module?
Create a README withall the Microsoft Learn GitHub Copilot modules and the hands-on skills with headings and subheadings
Create a README with all the Microsoft Learn GitHub Copilot modules and the hands-on skills with headings and subheadings
Create an alias to use with the CLI: Reduce repetitive effort with shortcuts that boost speed and efficiency.
alias grep copilot
alias grep copilot
cpcli='copilot --allow-all-tools -p "$@"'
cpcli='copilot --allow-all-tools -p "$@"'
Explain and fix scripts: Diagnose script errors and apply fixes to keep your code running smoothly.
cpcli "Explain each of these scripts and offer improvements"
cpcli "Explain each of these scripts and offer improvements"
Codebase maintenance: Handle security patches, upgrade dependencies, and perform focused refactoring to keep your codebase healthy.
Request a script for scanning and fixing security vulnerabilities
Generate a bash script to run npm audit and apply fixes automatically
Generate a bash script to run npm audit and apply fixes automatically
Ask for targeted refactoring guidance
Upgrade all npm dependencies to their latest safe versions
Upgrade all npm dependencies to their latest safe versions
Generating documentation: Create or update project documentation that improves clarity and visibility.
Generate more beginner-friendly documentation.
Review the project README to make it easier for newcomers to understand
Review the project README to make it easier for newcomers to understand
Understanding your system: Ask questions about system resources, like how your laptop storage is being used, which folders take up the most space, or what processes are running.
Get a summary of your laptop’s storage capacity.
What is taking up the most space on my own laptop?
What is taking up the most space on my own laptop?
Improving test coverage: Add new test suites and enhance existing ones to strengthen quality assurance.
Ask Copilot to create a command for generating Jest test files
Generate a command to scaffold new Jest test suites for uncovered components
Generate a command to scaffold new Jest test suites for uncovered components
Request a script to run coverage analysis
Create a bash script to run npm test with coverage and output asummary report
Create a bash script to run npm test with coverage and output a summary report
Ask for best practices for adding integration tests
Suggest steps to add integration tests for API endpoints using Supertest
Suggest steps to add integration tests for API endpoints using Supertest
Prototyping new projects: Kick off greenfield projects and experiment with fresh ideas.
Ask Copilot to build a proof-of-concept application from scratch
Use create-next-app with Tailwind CSS to build a Next.js dashboard. The dashboard should pull data from the GitHub API and display metrics like build success rate, average build time, failed builds count, and automated test pass rate. After setup, provide clear steps to build, run, and view the app locally in a browser.
Use create-next-app with Tailwind CSS to build a Next.js dashboard. The dashboard should pull data from the GitHub API and display metrics like build success rate, average build time, failed builds count, and automated test pass rate. After setup, provide clear steps to build, run, and view the app locally in a browser.
Setting up your environment: Run terminal commands to configure your local environment for existing projects.
Ask Copilot for environment setup commands
Provide commands to set up a Python virtual environment and install requirements.txt
Provide commands to set up a Python virtual environment and install requirements.txt
Request a script for cloning and preparing a project
Generate a bash script to clone a GitHub repo, install dependencies, and start the dev server
Generate a bash script to clone a GitHub repo, install dependencies, and start the dev server
Ask for Docker setup instructions
Suggest commands to build and run a Docker container for this project
Suggest commands to build and run a Docker container for this project
Finding the right command to perform a task: Get Copilot’s suggestions for commands relevant to your current task.
Ask Copilot for a Git command to undo the last commit without losing changes
What is the Git command to undo the lastcommit but keep the changes staged?
What is the Git command to undo the last commit but keep the changes staged?
Request a command to squash commits
Provide the Git command to squash the last three commits intoone
Provide the Git command to squash the last three commits into one
Explaining an unfamiliar command: Receive natural language explanations of what a command does and why it’s useful.
Ask Copilot to explain a Docker command
Explain docker run -it --rm ubuntu bash
Explain docker run -it --rm ubuntu bash
Request an explanation for a Git command
Explain git rebase --interactive HEAD~3
Explain git rebase --interactive HEAD~3
What’s next
Copilot CLI is in public preview, and your feedback will help shape our roadmap—so we want to hear what you think about using the product. You can share your experience using /feedback.
Take this with you
GitHub Copilot CLI brings the power of agentic AI right to where you work: your terminal. Whether you’re launching a new project or tackling a backlog of fixes, putting Copilot at the command line lets you build momentum with less friction and more flow. Happy coding!